Hi all,
I’ve been working on providing a one-click Reclaim Cloud installation option for users of the GLAM Workbench. I thought I’d share it here in case it was of use to others. (With thanks to @psychemedia for his initial experiments with Jupyter documented here.
The GLAM Workbench consists of about 40 GitHub repositories, each containing a collection of Jupyter notebooks. The repositories include configuration files that mean they can be spun up using Binder. Binder is a great service, but it has limitations – in particular, the environments it creates are not persistent, so any data you gather or notebooks you modify will not be saved. It’s a great environment for exploration, but what happens when users want to take the next step and do serious and sustained work? It’s a big jump from using Binder in the cloud to setting up Python/Jupyter on your own computer. Enter Reclaim Cloud!
My plan is to provide a one-click installer that spins up a fully operational environment in Reclaim Cloud for Workbench users who want a persistent environment and don’t mind paying for it. I think this will nicely fill the gap for users who want to do serious work, but don’t quite have the confidence/experience to manage ta local setup.
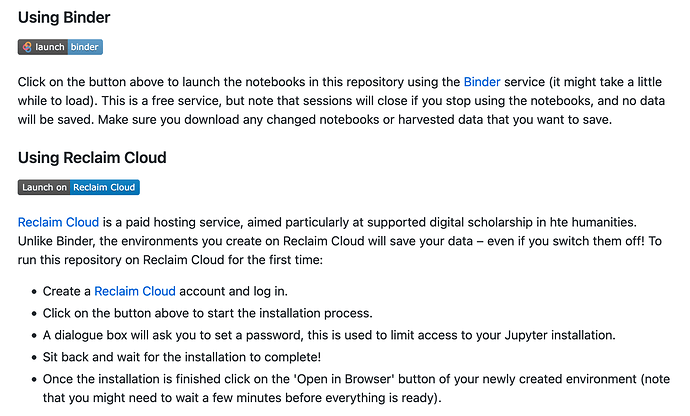
I’ve currently got this working in the Trove Newspaper Harvester repository. You’ll see that there’s ‘Launch Reclaim Cloud’ button, just like the ‘Launch Binder’ one.
There’s a few components needed to make this happen.
I’m using the Repo2docker GitHub action to generate a Docker image when I push changes to the main branch. Binder uses Repo2Docker behind the scenes, so I don’t need to supply any extra configuration to make this work, it just reads the Binder config files (requirements.txt and postBuild). This action also uploads the image to the Docker Hub.
When you click the ‘Launch Reclaim Cloud’ button, you send the file reclaim-manifest.jps to Reclaim Cloud. This file points to the latest Docker image on Docker Hub, and configures the Reclaim environment. This file uses the Jelastic Cloud Scripting language.
There were a couple of tricky things that took a while to work out. I wanted to ask users to set a password for Jupyter on installation. So I had to add a password field to the installation dialogue, encode the password, and then feed that password to Jupyter. I also wanted to change the entry point command to launch Jupyter Lab, rather than the classic notebook interface. Finally I wanted to open Lab and display a default ‘index.md’ page. All that is accomplished here:
onInstall:
    - cmd[cp]: python3 -c "from notebook.auth import passwd; print(passwd('${settings.jupyterPassword}', 'sha1'))"
    - api:
        - method: environment.control.SetContainerRunCmd
          params:
            nodeId: ${nodes.cp[0].id}
            data: "jupyter lab --ip 0.0.0.0 --NotebookApp.password='${response.out}' --LabApp.default_url='/lab/tree/index.md'"
        - method: environment.control.RestartNodes
          params:
            nodeGroup: cp
It wasn’t at all obvious from the Jelastic documentation how to get the output of the python command (it’s just ${response.out}). Nor was it obvious that I had to use the Jelastic API to change the run command and restart the node, but I got there in the end.
So now I’ve got this working in one repository, my plan is to move ahead and add it to the other 40! I also need to add some additional documentation to the main GLAM Workbench site. But I’m pretty excited about this and what it adds. One of my main aims with the GLAM Workbench is to encourage researchers with limited digital skills to start playing around with GLAM data, and I think having the Reclaim Cloud option will really help!
[Ugh Discourse won’t let me include more than 2 links in a post, so I’ll try to add them in comments…]
