Difficulty: Intermediate
Estimated Cloudlet Usage: 14
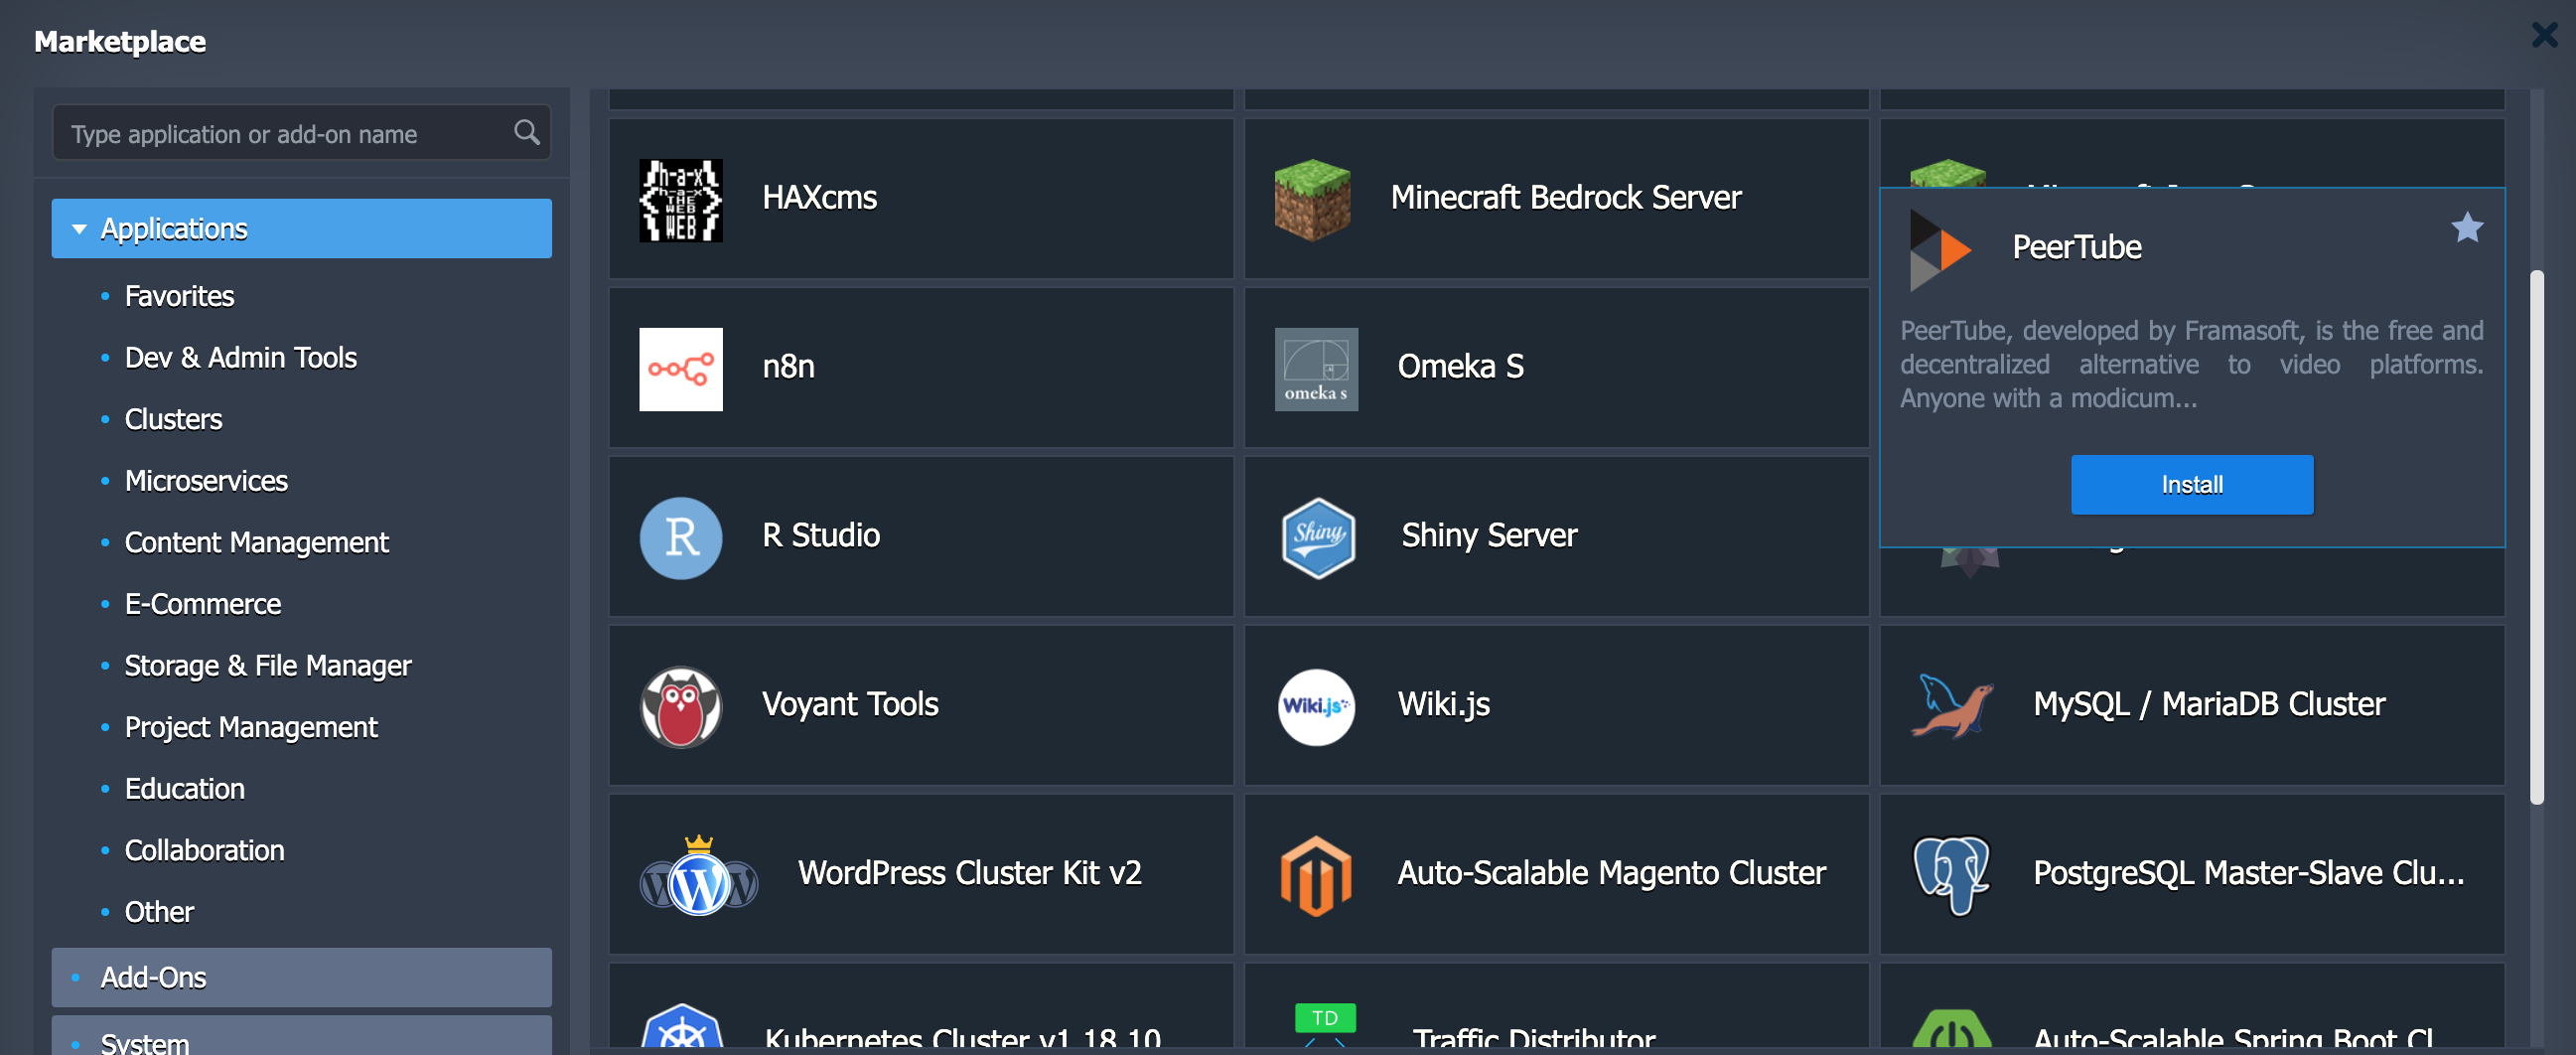
PeerTube has now been added to the Marketplace. Developed by Framasoft, PeerTube is the free and decentralized alternative to video platforms. Anyone with a modicum of technical skills can host a PeerTube server, aka an instance. Each instance hosts its users and their videos. In this way, every instance is created, moderated and maintained independently by various administrators.
You can find PeerTube by clicking Marketplace and then Applications to show all or searching by name.

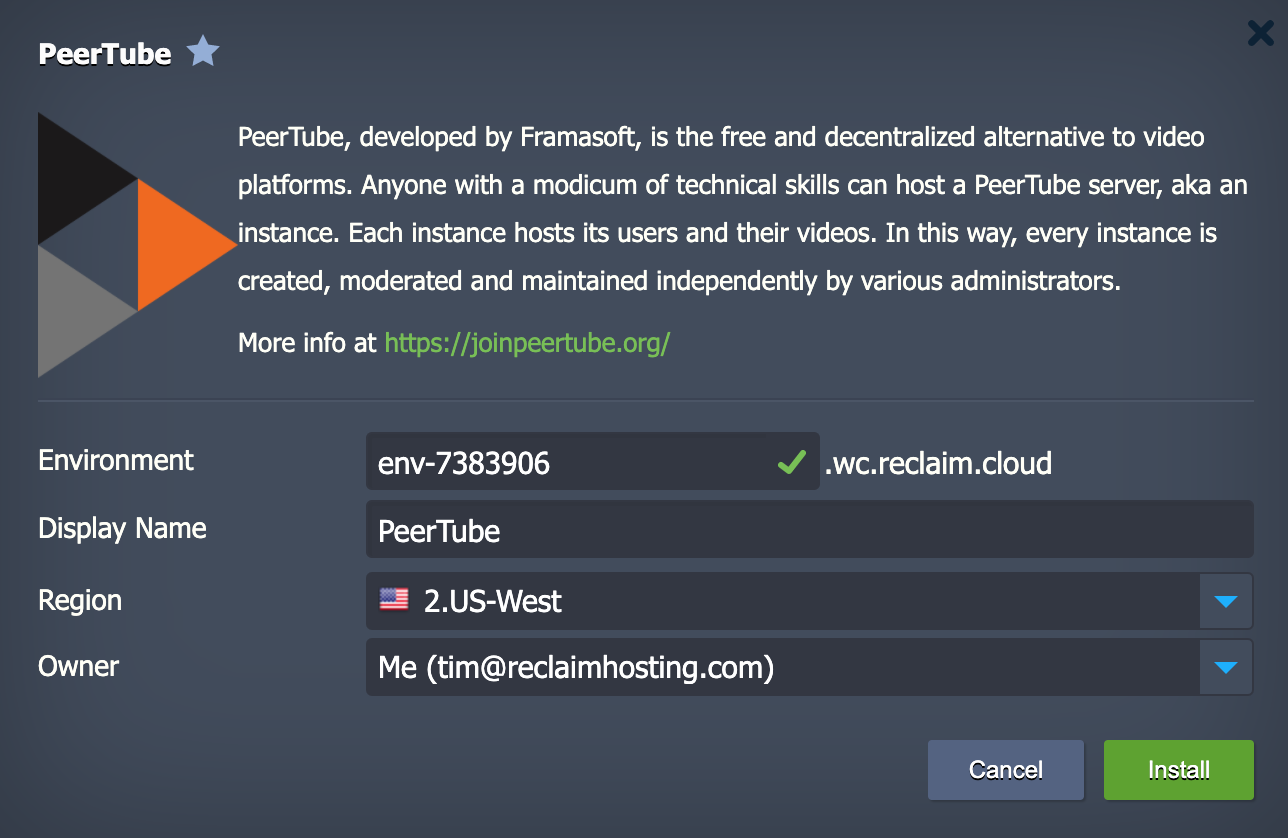
Installing is as easy as setting an environment name and region for the install. SSL will be provisioned automatically for the environment and your install will be up and running in just a few minutes. Your username and password for the install will be sent by email as well as displayed in the confirmation dialog.
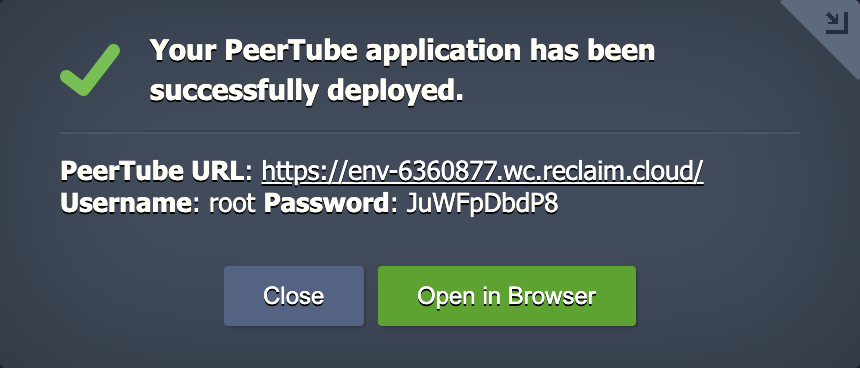
Once the install is complete you can login with root credentials and begin setting up your instance.

Domain Mapping with PeerTube
The automated installer makes it very easy to get up and running with a development subdomain of reclaim.cloud. Should you wish to use a more permanent top level domain or subdomain you own, we strongly recommend setting that up immediately after install as there are some extra steps involved and changing the URL after your PeerTube install has been running is not advised due to how federation and permalinks work in the system.
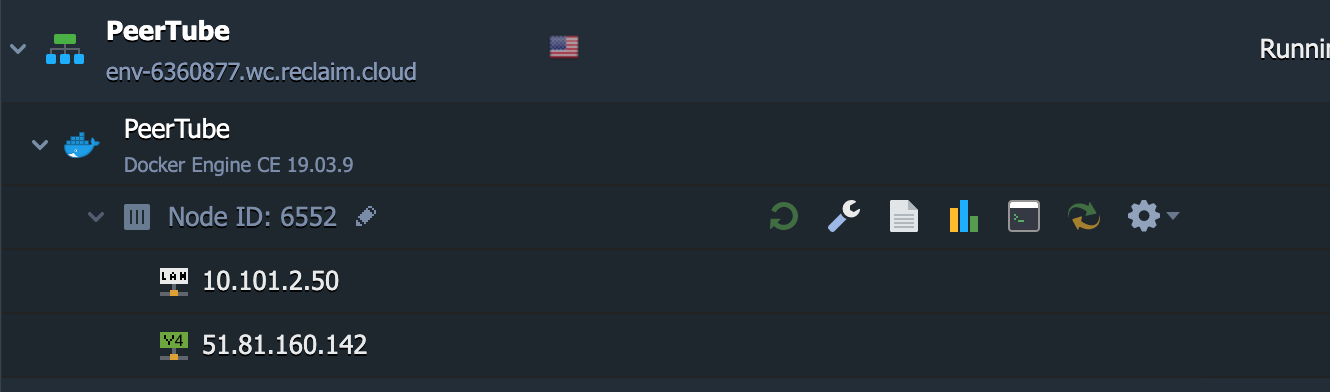
To get started you will need to point a DNS A record to the dedicated IP address for your install. You can find the IP by expanding the node in the interface dropdowns to show details and selecting the IPv4 address (internal addresses will begin with 10.x, you want the external address which is usually listed second).
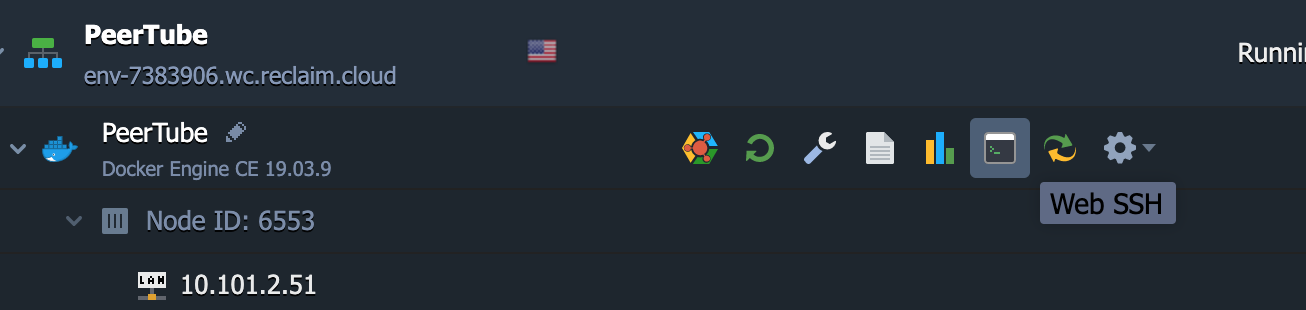
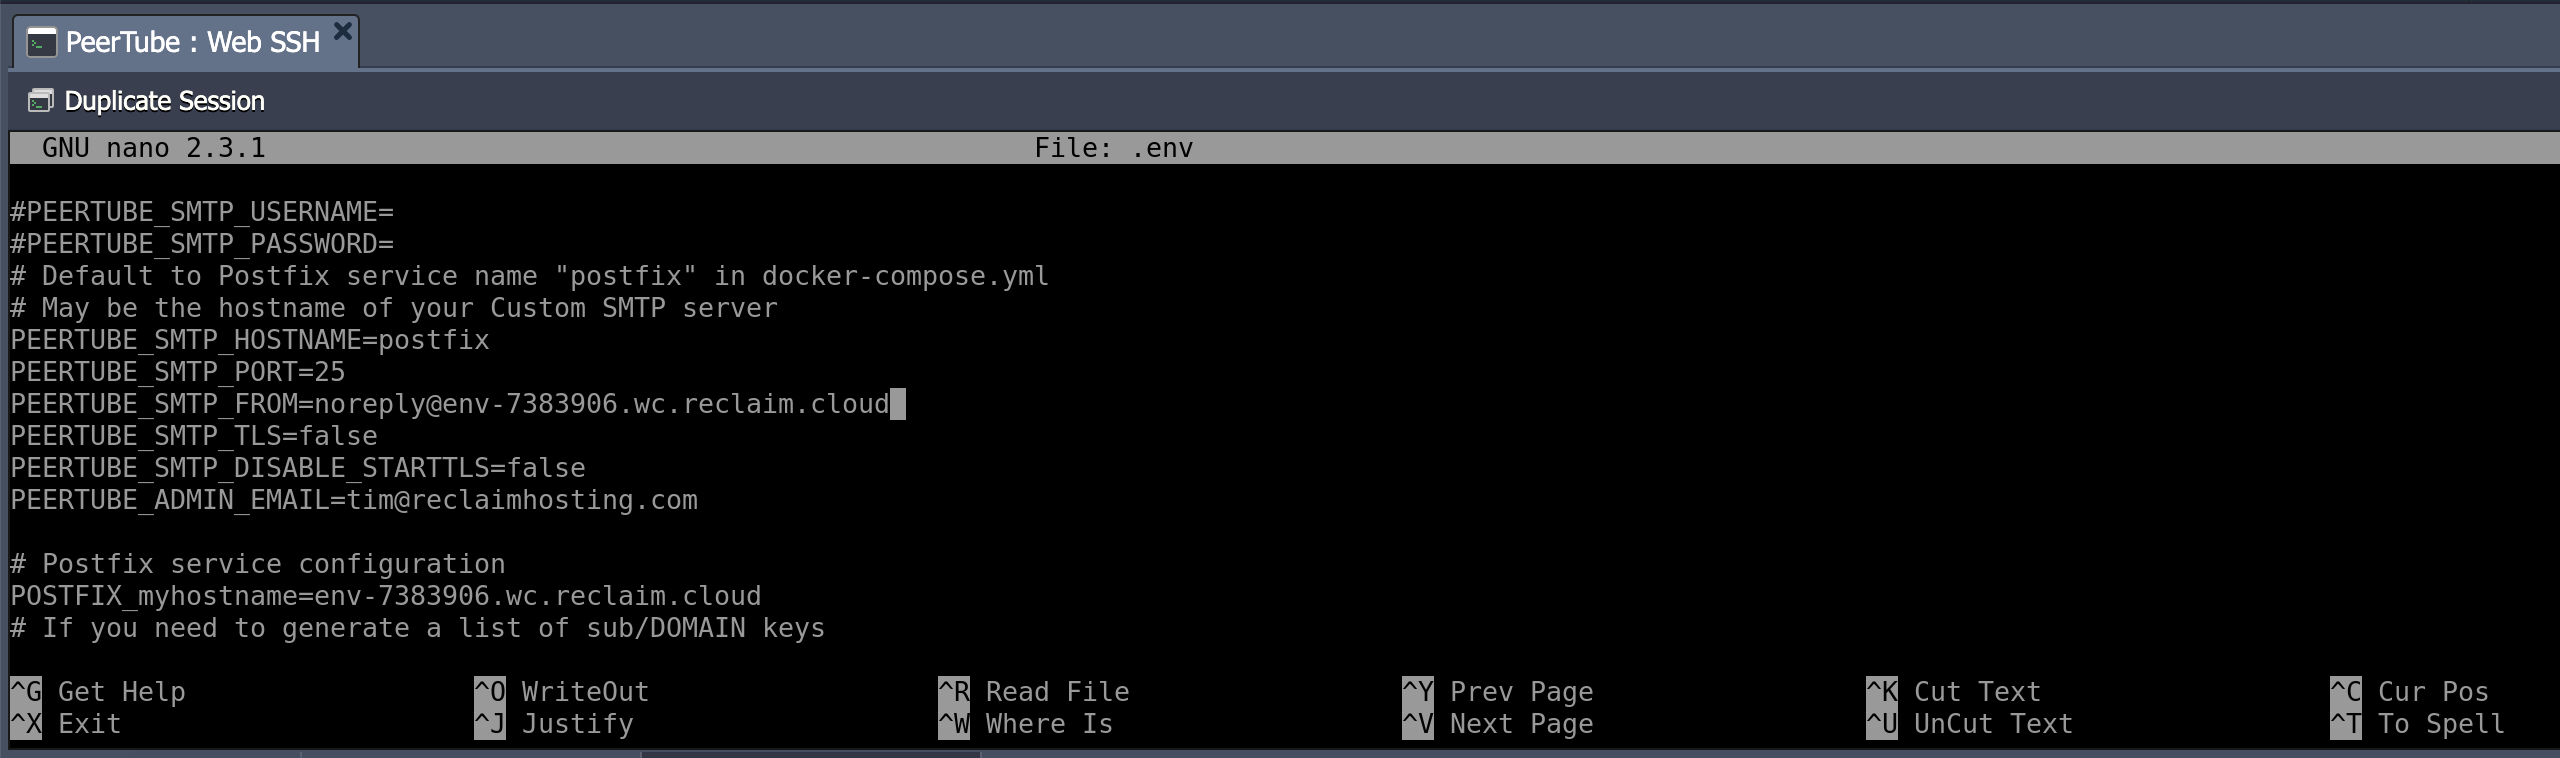
After setting up the DNS record and giving it time to resolve, you will need to update the .env file in the root of the server. You can access the files through the Web SSH area and edit this file with nano .env. You will replace all instances of reclaim.cloud subdomains with the new domain. When finished type CTRL-X and Y to confirm the changes.
Go ahead and stop the current environment by running:
docker-compose down
You will also need to provision a new certificate for the domain. Copy and paste this command changing the domain to your own and use your own email address.
docker run -it --rm --name certbot -p 80:80 -v "$(pwd)/docker-volume/certbot/conf:/etc/letsencrypt" certbot/certbot certonly --standalone -d yourdomain.com --non-interactive --agree-tos -m your@email.com
Once you’ve provisioned the certificate the last step is to rebuild the environment to utilize the new domain. Run the following to rebuild and restart the application:
docker-compose up -d --build