Dreamweaver is a popular web design application built by Adobe. Unlike content management systems like WordPress where much of the design and configuration happens directly on your website, with Dreamweaver you will be editing your files locally and then pushing them to your server space on Reclaim Hosting. This guide will walk you through the initial process of making the connection to your space on Reclaim.
Please Note: You will need to get your cPanel username and password for this guide. If you are unsure what it is login to https://portal.reclaimhosting.com and click Accounts > My Accounts, click the dropdown menu beside View Details and choose Change Password.
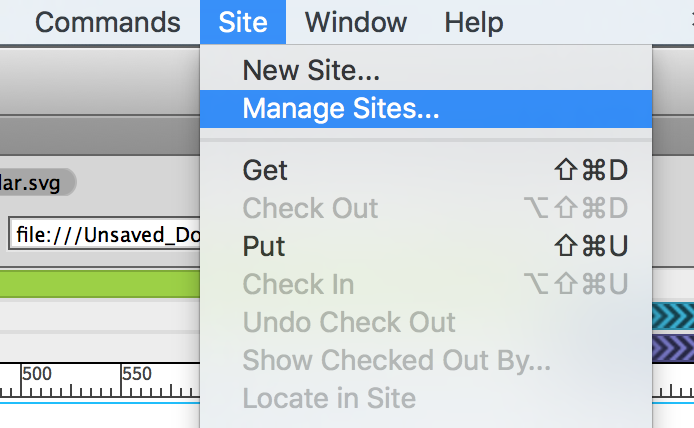
After building your site in Dreamweaver you’ll create a connection to your server space on Reclaim Hosting by clicking Site > Manage Sites
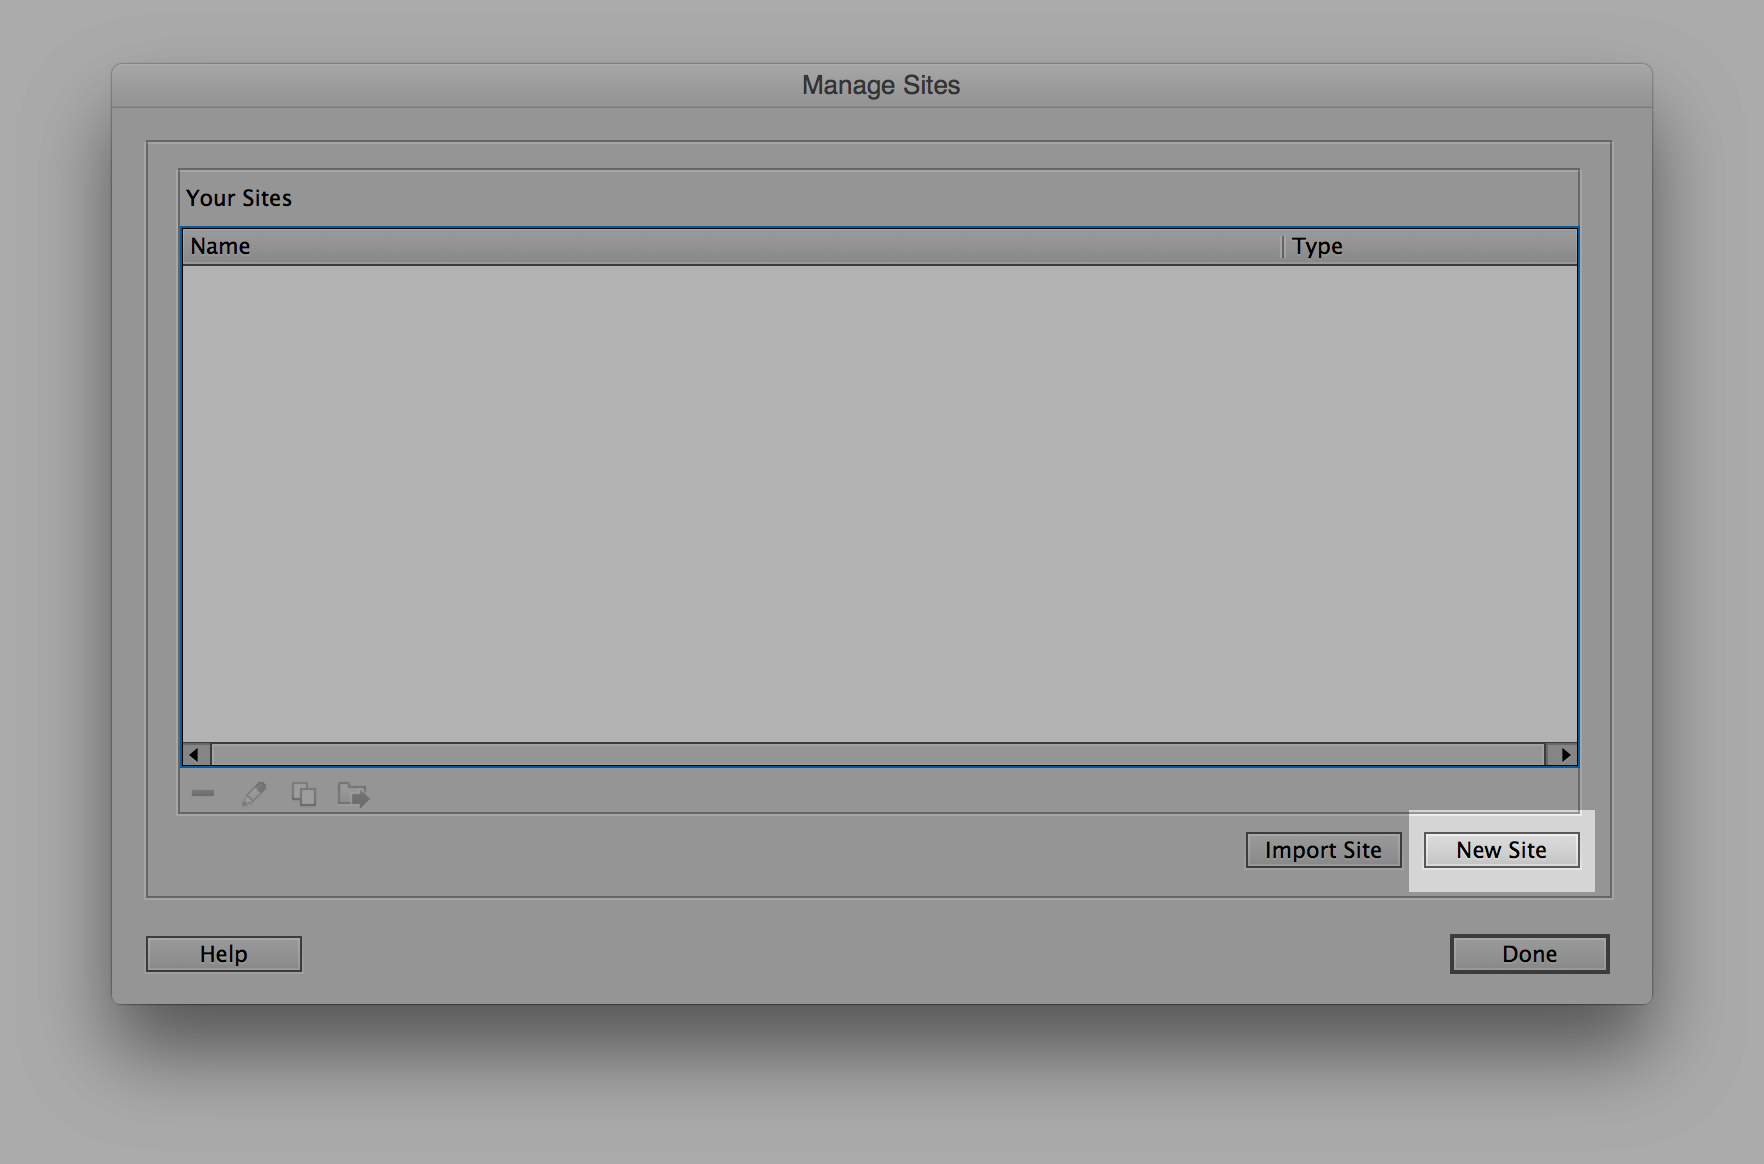
If this is your first time setting up a connection this area will likely be empty. Let’s create a New Site
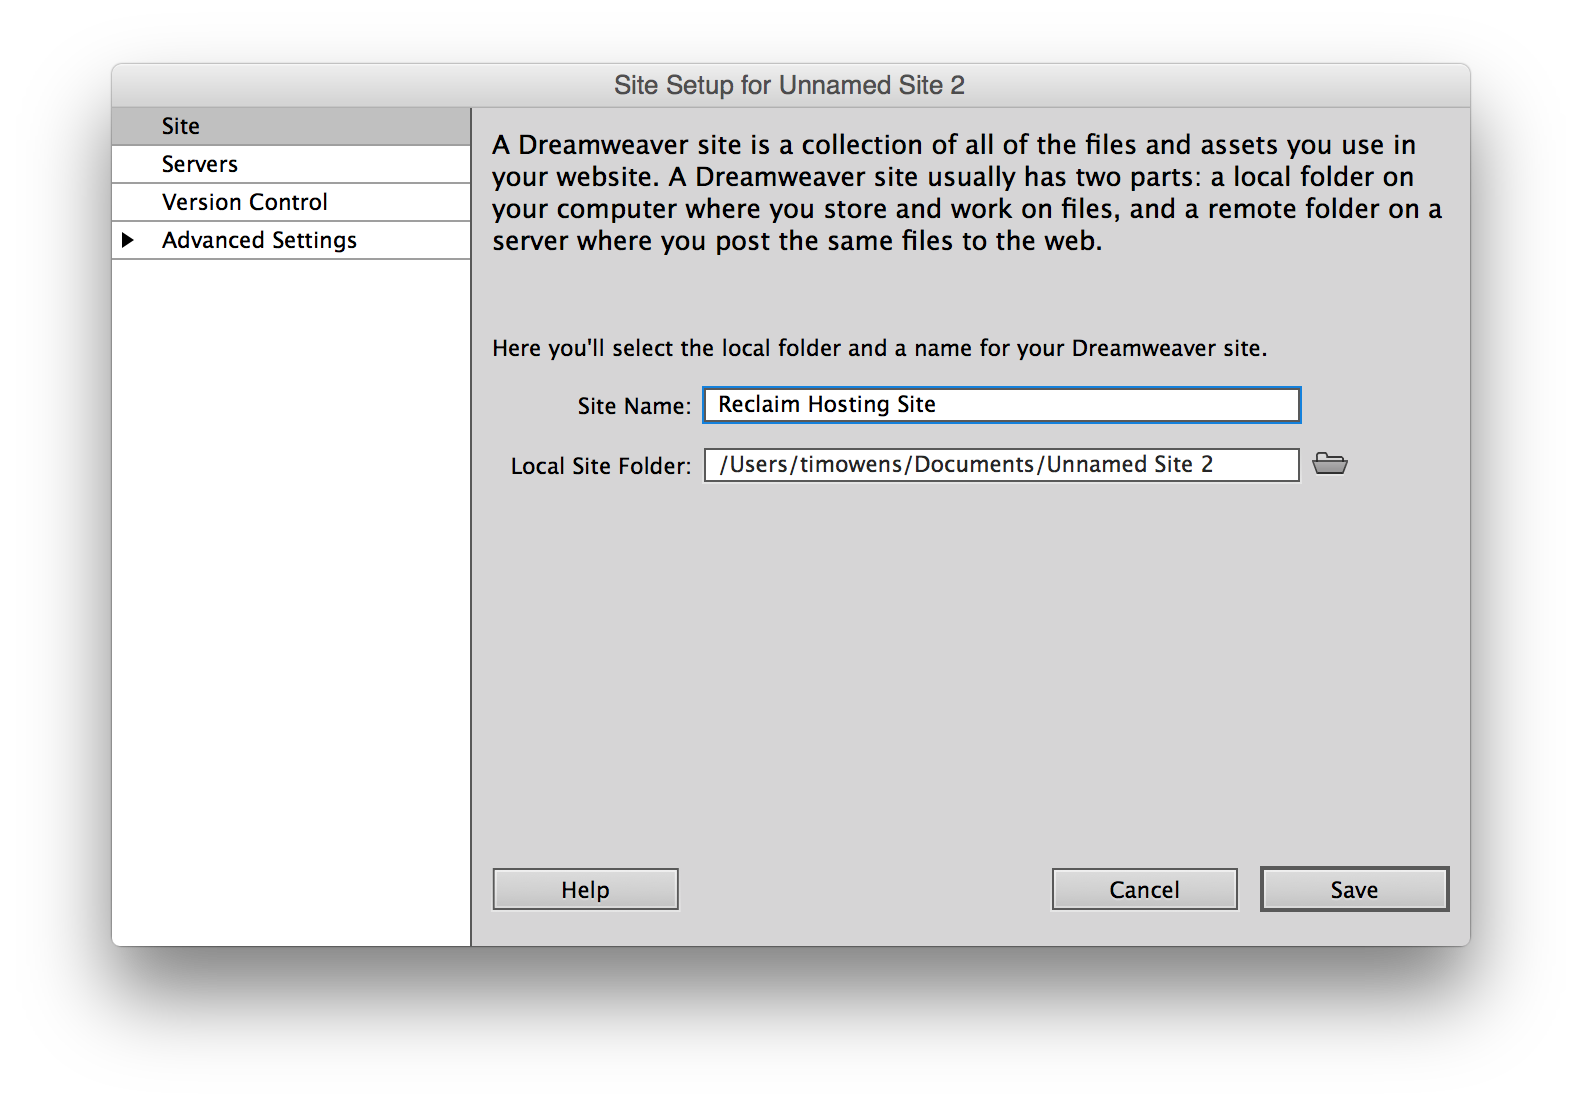
In the first page of options you’ll give your site a name, which can be anything you’d like and will remember, and make sure the local path to the files on your computer is correct. Then click Servers on the left
Here we need to add a server connection to Reclaim Hosting, so click the + icon to add a new server.
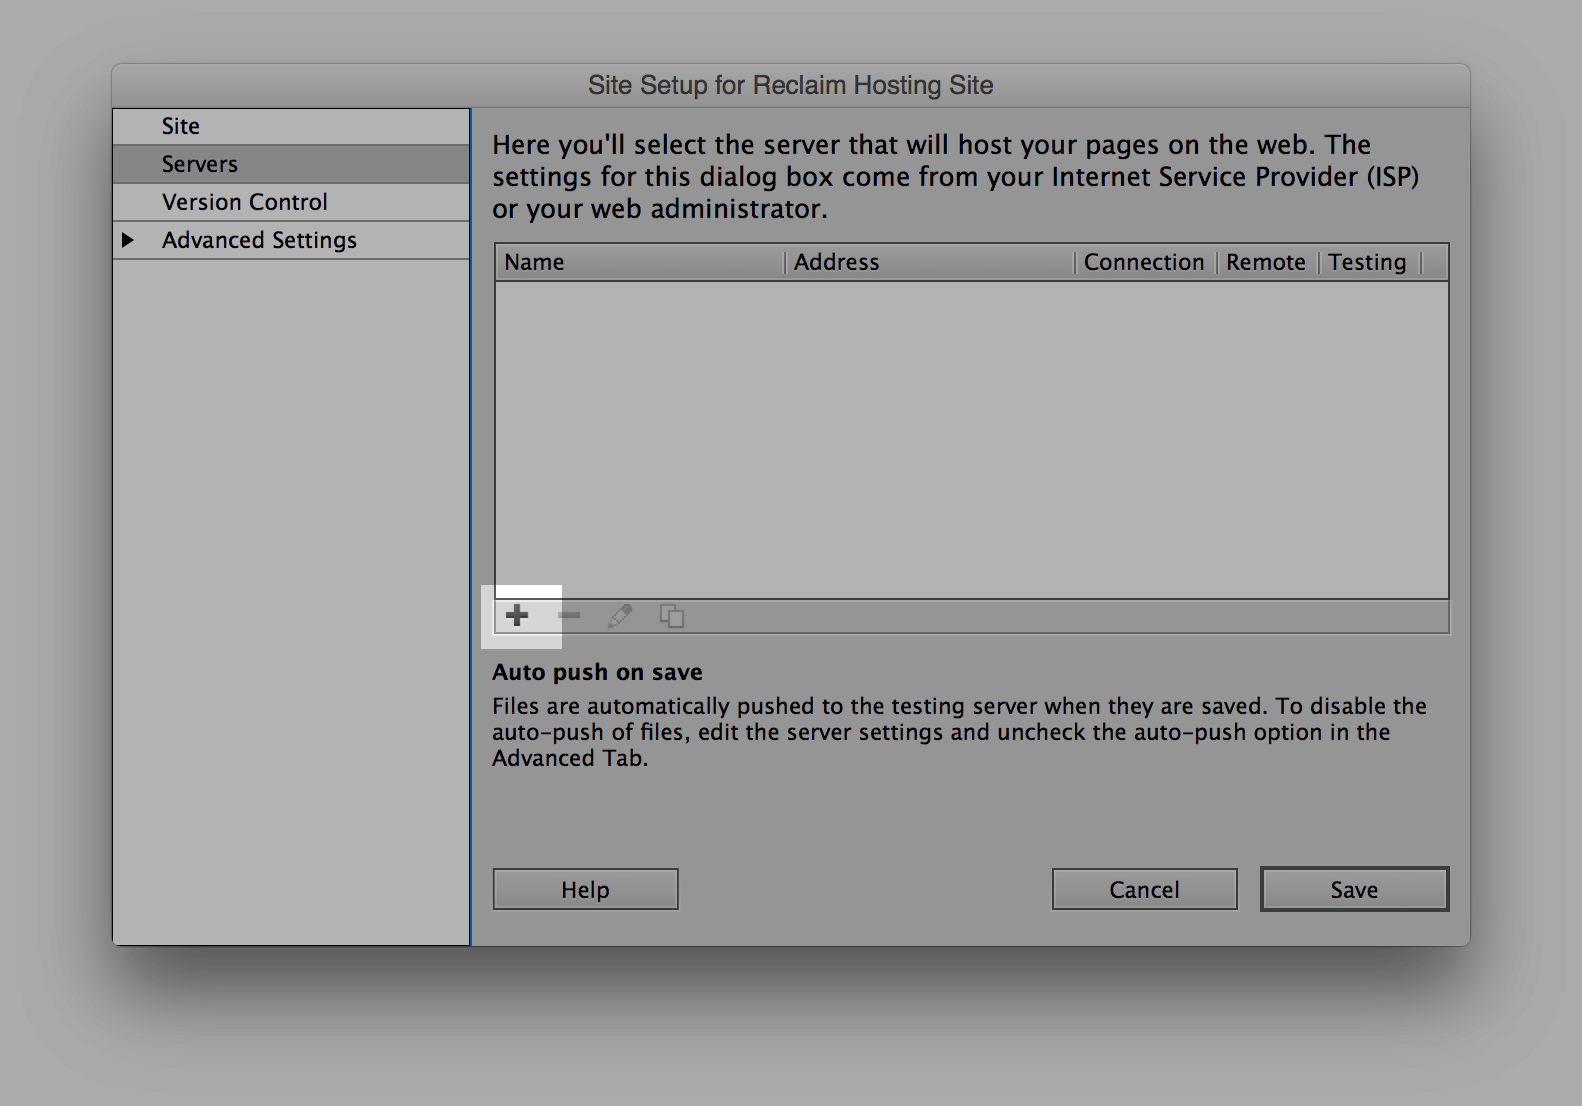
You will be connecting by SFTP (Secure File Transport Protocol) to your space on Reclaim. You should have your cPanel username and password handy for this step. Enter your domain information including username, password, hostname, and path (public_html) as seen in the screenshot below:

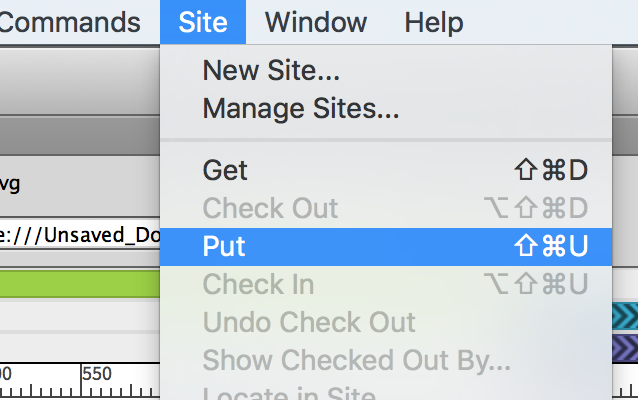
Click Save to close out the site connection settings window and exit the Site Manager. At this point the connection to the server should be all set and you can publish your files at any time by clicking Site > Put