Navigating to your Backups
First, log into your cPanel
From there, click ‘JetBackup’ under the ‘Files’ section.

You’ll then see a few options to use when restoring the content to your domain. You’ll see them broken up into file backups and database backups. Click the option you’d like to restore. If restoring files to your account click ‘File Backups’ and click ‘Database Backups’ to restore your database(s).

Restoring Files
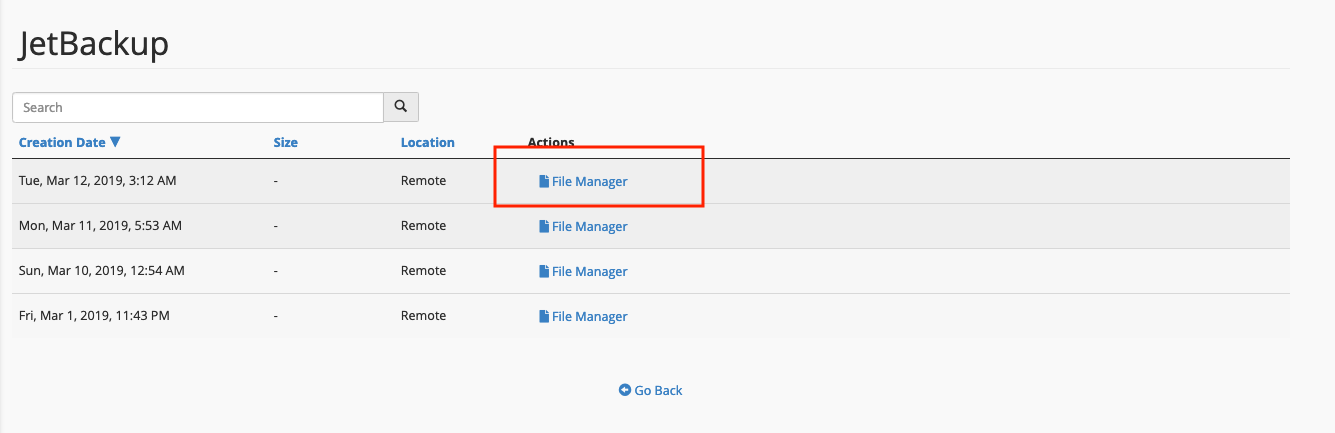
When restoring the files, you’ll see a list of backups in your account. From there, click ‘File Manager’ next to the date you’d like to restore from.
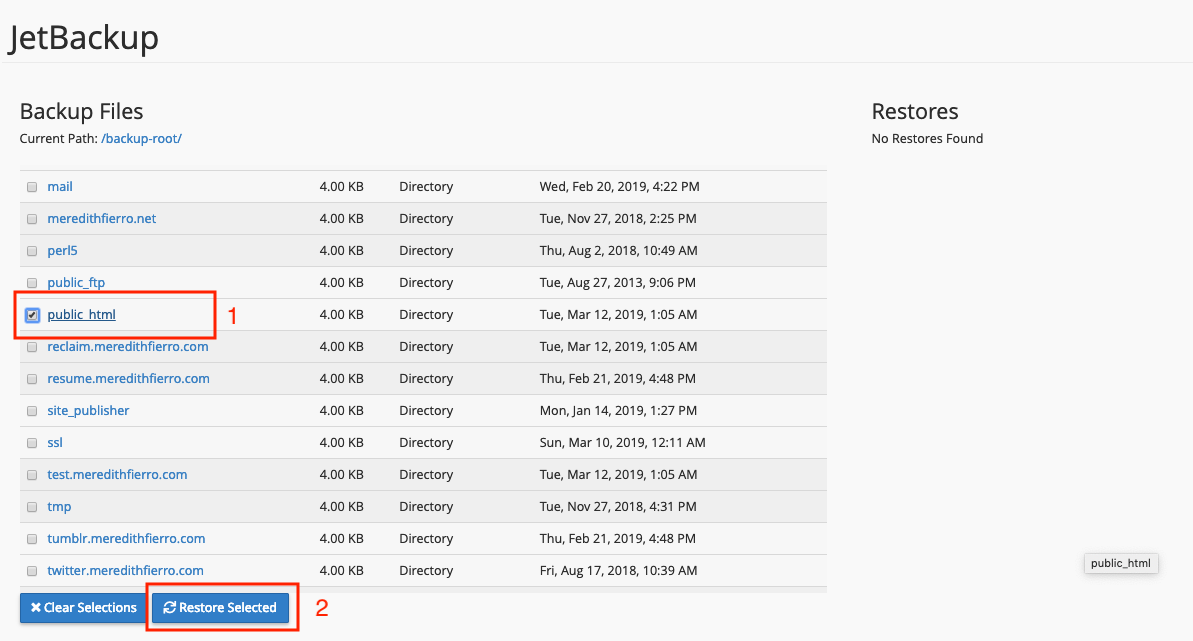
This will show you a list of all files you can restore from that backup. Double click to navigate between folders and click the checkbox next to the file/folder you want to restore. When you’ve selected all files/folders click ‘Restore Selected’:
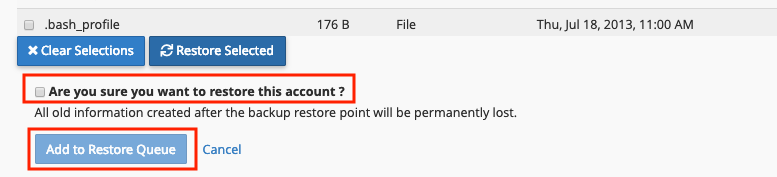
You’ll be asked to confirm the restoration of the selected files. Click the checkbox and '‘Add to Restore Queue.’
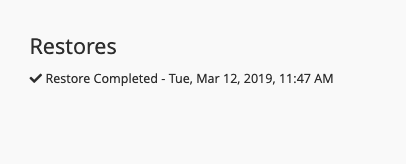
You can follow the progress of the restore in the side bar on the rightside of the screen.
Restoring a Database
When you click ‘Database Backups’ you’ll be brought to a list of available database backups you can either restore or download and then import into PHPMyAdmin.

To restore, simply click restore next to the backup you would like to restore. You will have to confirm this is the database you would like to restore, and then you can add it to the restore queue.

In the Queue (accessible from the main page of Jetbackup), you can see the progress of the restoration.
![]()
From there, you’re good to go! If you run into any issues along the way or have any questions submit a ticket to our support channels and we’ll be happy to help!