Starting August 1, 2020 Reclaim Hosting launched Reclaim Cloud which allows for more flexibility with applications such as Node.JS, Python, and Ruby. After the launch Reclaim is decommissioning installation of CloudLinux across all new servers. Feel free to check out Reclaim Cloud as an alternative!
With the launch of Node.js support for Reclaim Hosting environments this guide will walk you through the necessary steps to install a copy of the Ghost blogging platform. This is an advanced tutorial that involves using SSH. If you are not comfortable installing Ghost we highly recommend considering a managed hosting environment like https://ghost.org/. That being said, let’s get started.
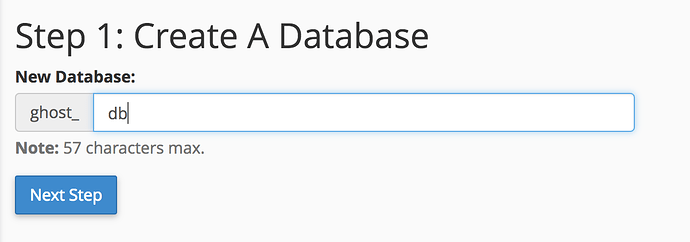
The first step is to create the database that Ghost will use. We can do this in a series of steps using the MySQL Database Wizard.
Give your database a name, in this case I’ll use ghost_db
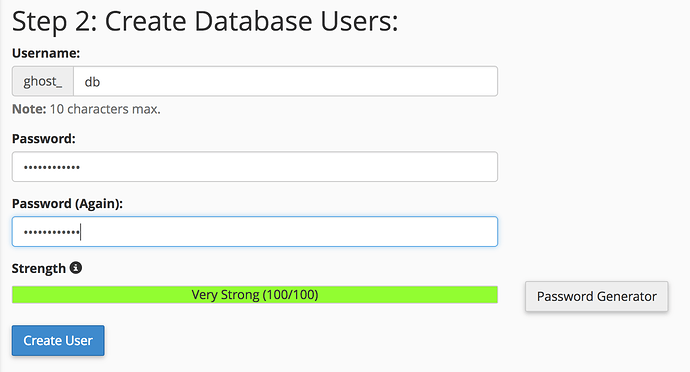
Then setup a database user and password (I like to use the same username as the database name to keep things simple)
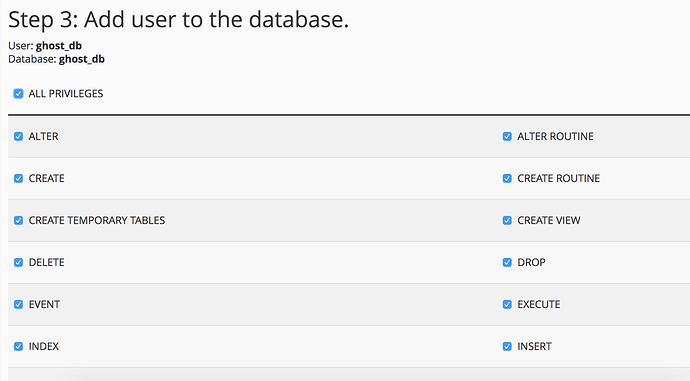
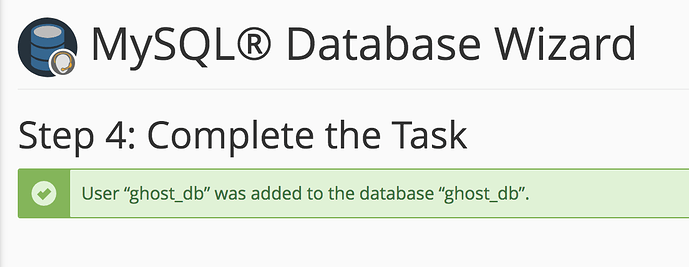
Finally assign all permissions to the database for the user
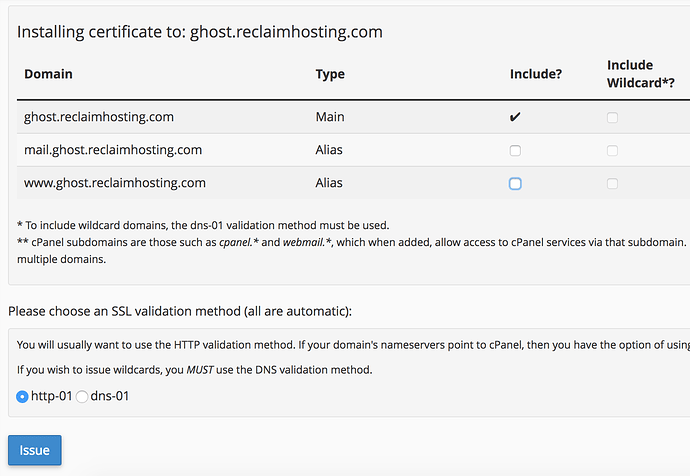
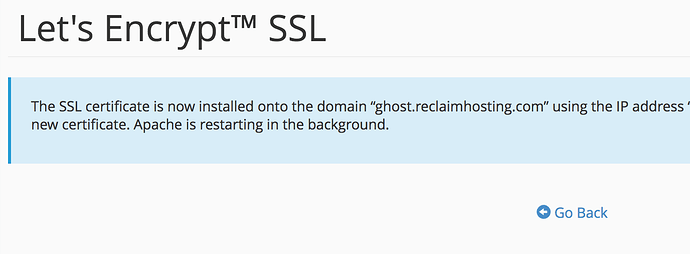
While we’re at it, I’m going to go ahead and install an SSL certificate on my domain so that it loads over https. I do this with the Let’s Encrypt option in cPanel following this guide
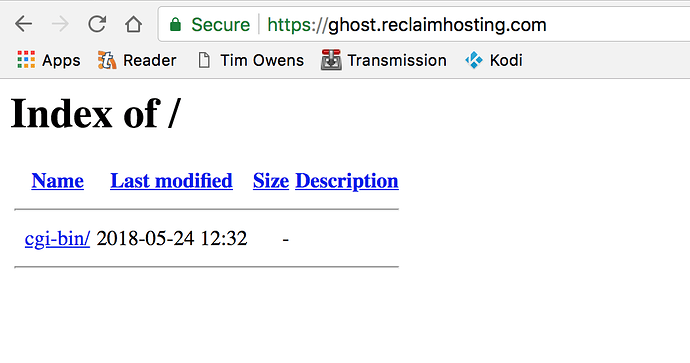
If we were to load our domain now you’ll see that it’s empty (or if this is a brand new domain you might have a Reclaim Hosting splash page)
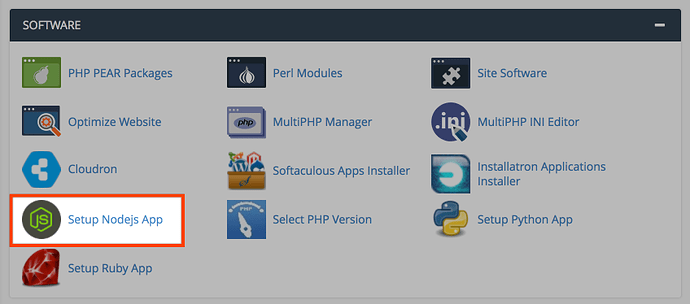
Next we’re going to setup our Node.js application that will be running Ghost. This is found under the Software section of cPanel
The panel shows you any Node.js applications created (in our case none) and we’ll click Create to setup one
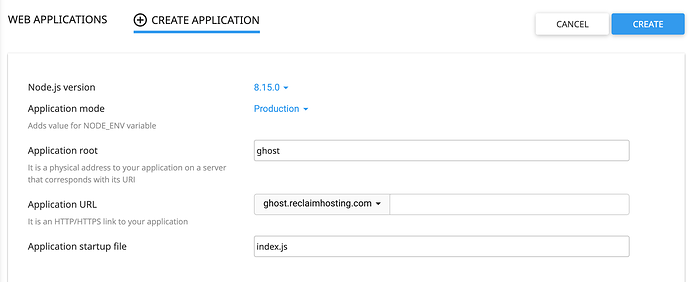
Ghost requires node version 8 so we’ll select that. For the name of the folder we’ll use ghost (this folder gets added to the root level of the account) and we’re installing it at the main domain, in this case ghost.reclaimhosting.com. For the start file I put index.js which is the file that Ghost will use to run the application.
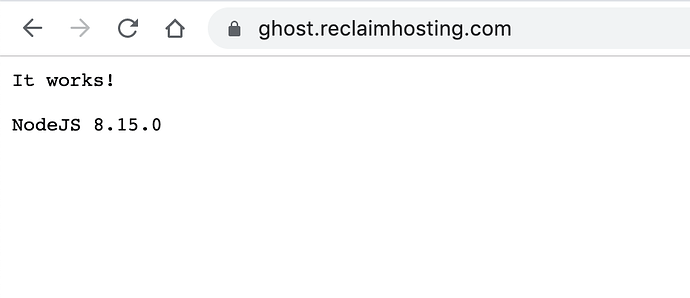
With the application created if we load our domain now we’ll seeing we are running a Node.js app, but we don’t yet have Ghost installed on it, this is just a basic application that prints the version to the screen.
Now it’s time to switch over to Terminal and SSH into our account. But before we do make note of the path that the Node.js application provides for entering a virtual environment here, you’ll need that.
In terminal the first thing I do is log in to my account, change directory (cd ghost) to the ghost directory, and remove all of the existing content (rm -rf *). Finally I paste in that source command to start my Node virtual environment (source /home/ghost/nodevenv/ghost/8/bin/activate && cd /home/ghost/ghost).
Next we install the Ghost command line interface by running npm i -g ghost-cli. Ghost will require the directory to be empty, however our system links a node_modules folder when the app is created so you’ll need to run unlink node_modules. Once that is done we’ll install Ghost with the following command ~/nodevenv/ghost/8/lib/bin/ghost install --no-setup-linux-user
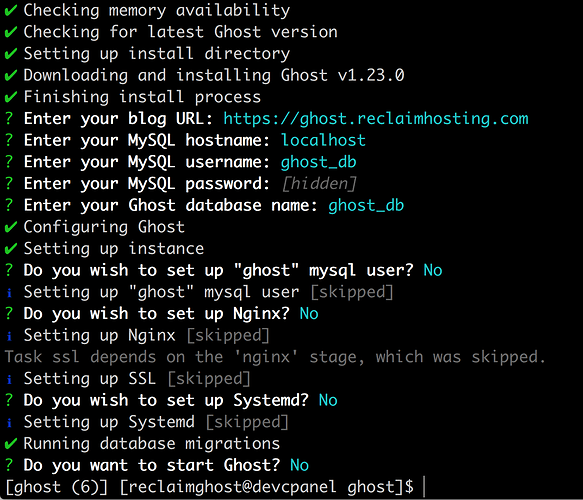
The installer will ask us a few questions. First it warns we aren’t running Ubuntu which is just fine, so type y to continue
The installer also won’t recognize our MySQL setup but that’s ok as well, type y again
We then get a series of questions about our site URL and database. I use the https URL here and input the database username, password, and database name. The rest of the questions can be answered with No.
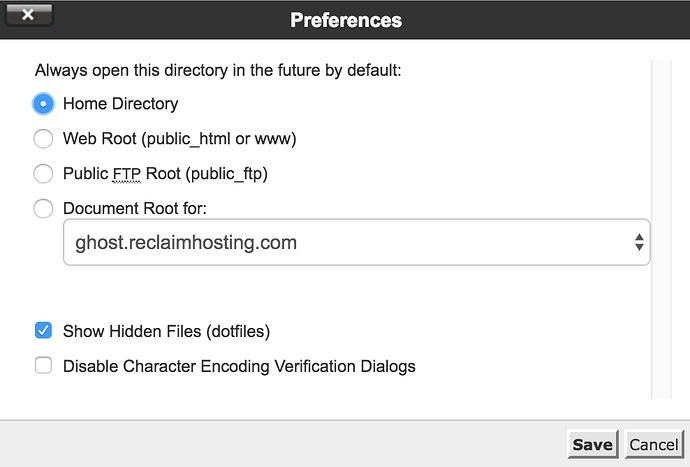
The folder structure Ghost uses will not work out of the box so we need to move some things around. Before we begin click Settings in the top right of File Manager and make sure Hidden Files are being show.
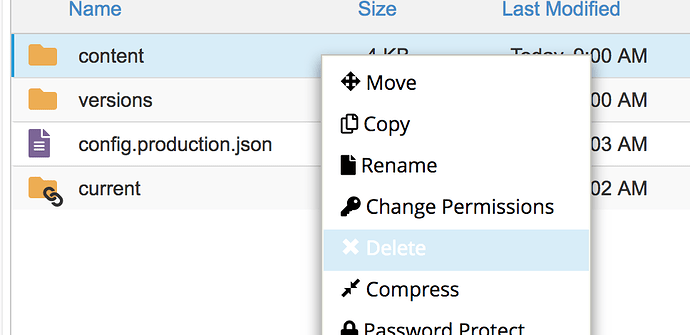
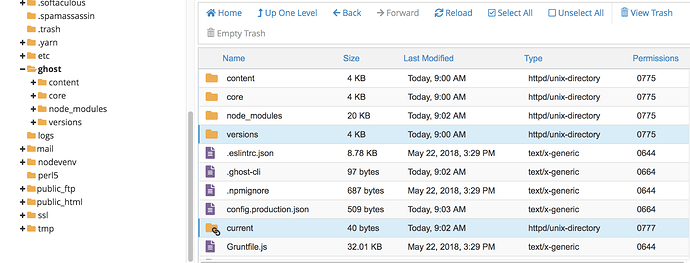
If you look in File Manager under the ghost folder at the root of the account you’ll see they have created a versions folder that can contain more than one version and the current folder is a link to a specific version. We’re going to change all this. First delete the content folder since we will be moving a different one into its place.
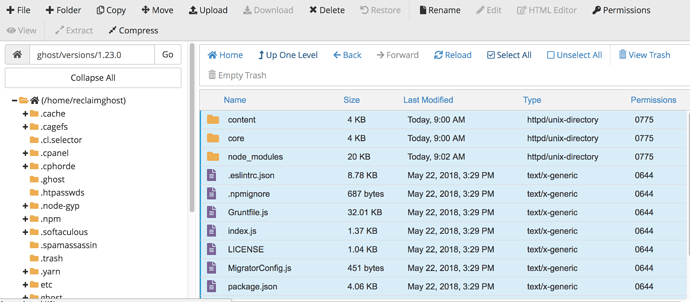
Now we are going to navigate down into that versions folder. There will be a folder inside of it with the Ghost version number and inside that folder you’ll find the full install here
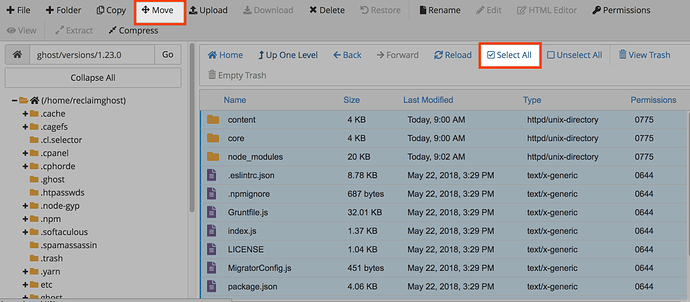
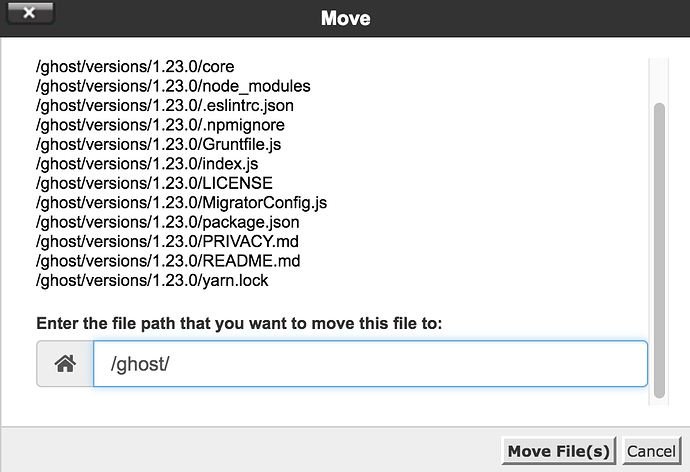
We need to move all of this up to the main ghost folder. Select all and choose Move. Then type /ghost/ as the location to move everything to.
Finally we can delete the versions and current folders
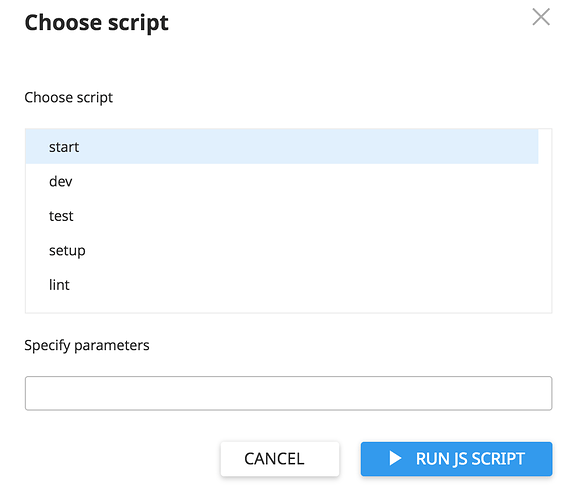
Lastly for our Node.js application to detect all the new Ghost files we need to run a start script. If you go back to Node.js area of cPanel and edit your application you’ll remember this set of buttons at the top. We are going to run a JS script
Choose start and run it
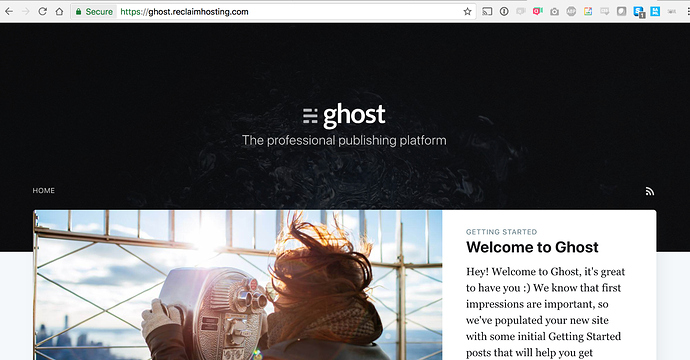
After a few seconds (the loading page may get stuck so just close out that screen) if you navigate to your domain you’ll have a brand new Ghost installation up and running
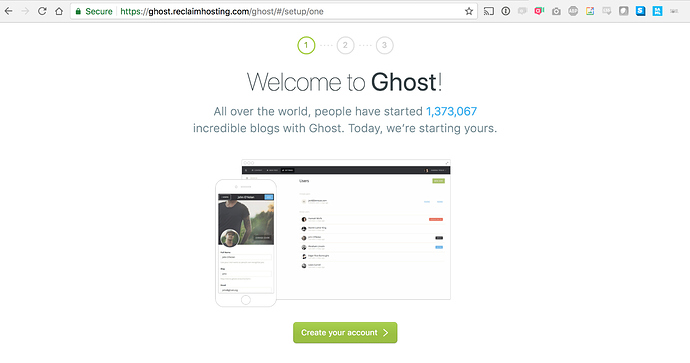
You can navigate to /ghost to access the setup and get started with your new blog

