Although there are several tools available to move content from one account or server to another, occasionally this has to be done manually. One example might be where a domain expired and is no longer available.
The following guide will cover moving a WordPress installation.
Archiving Site
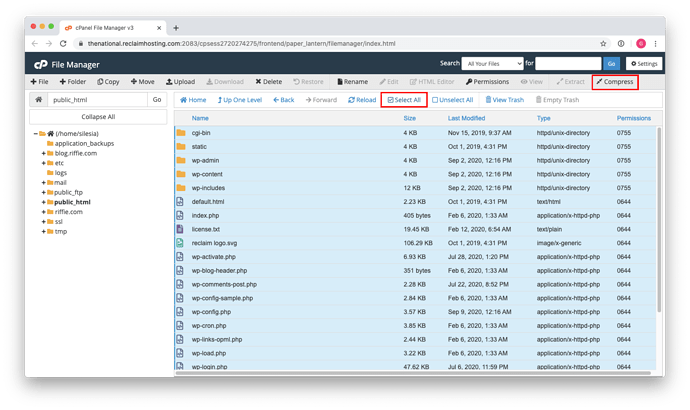
First you’ll want to log into the cPanel account needing to be moved. Navigate to the directory containing the install and click Select All and then Compress
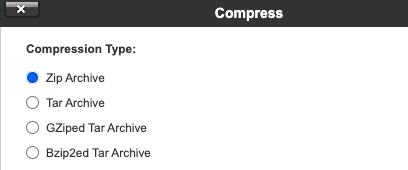
You’ll be given some options for the type of compression. Typically unless there’s a specific need for a different type of file, Zip Archive is a good choice.

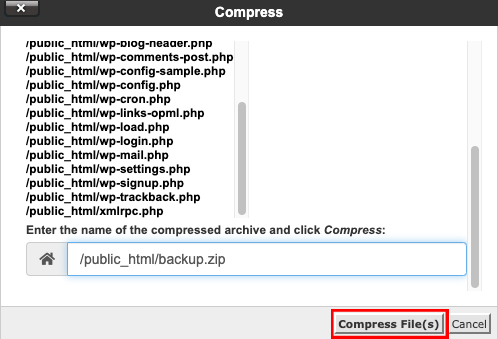
Next select the archive location and name and then click Compress File(s)

The file will then be ready to download.
Exporting Database
You’ll now want to export the database using phpMyAdmin. This is covered in a separate guide.
Uploading Backup to New Location
We have have the two pieces needed to move a WordPress site to a different account or server. Let’s look at how the files are put into place at the new location.
Log into the account where the site will be and navigate to the File Manager Usually the files will go under public_html unless a different location has been specified such as for an addon or subdomain.
Using the File Upload option, we can upload both of the files we obtained from the previous installation.
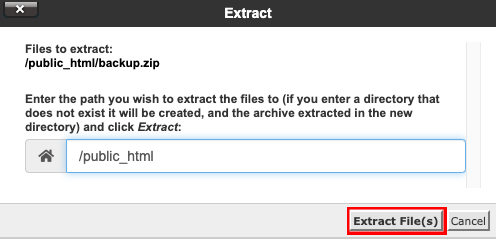
Once the files have been uploaded, you can extract the backup archive by clicking Extract in the cPanel File Manager and then clicking Extract File(s) in the window.

Importing Database
We can import the database file into phpMyAdmin which is covered in this guide.
Changing Primary Domain Name
If the site is now located under a different domain, there are a few additional steps needed to be completed. Reach out to Reclaim Support for help changing the primary domain name for your account!
Finally we should have the site moved and ready under the new location.

